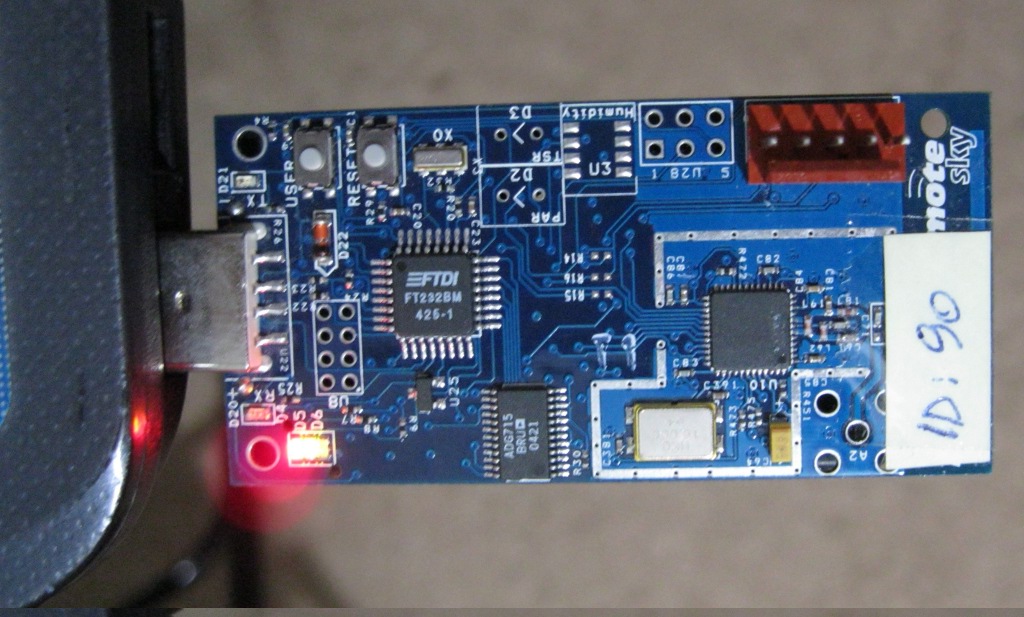
Install TinyOS 2.1.2 on Ubuntu 12.04 and blink LEDs on TelosB mote

Recently I got my hands on the TelosB mote and as the tradition goes, I had to test blinking LEDs on it. (If you want to compare this mote with few others out there then this is a good paper to refer).
Initially, I went to the TinyOS getting started page which provides instructions for installing TinyOS 2.1.1. It had few steps missing and one can run “tos-check-env” and google for the errors which show up. However, when I went on to make the blinking LED project (make telosb), it spewed out a host of errors similar to this line “/opt/tinyos-2.1.1/tos/platforms/telosa/PlatformLedsC.nc:54: cannot find `Port56′”. Apparently the msp430 packages did not jive with this TinyOS version 2.1.1 and multiple posts online suggested rolling back to legacy versions.
I decided to give TinyOS 2.1.2 a shot and it worked!!! So well here is the entire procedure for you:
- Remove brltty package to avoid FTDI to serial conflicts
sudo apt-get autoremove brlttyMake sure you have the build-essentials package
sudo apt-get install build-essential - Execute the following command,
sudo vi /etc/apt/sources.listHit “G” to go to end of file and then hit “A”. Paste the line given below at the end of this file
add deb http://tinyos.stanford.edu/tinyos/dists/ubuntu lucid mainIn case you had previous repositories for TinyOS in source, then remove them. Hit ESC, then enter “:wq” to save and quit
- Now install TinyOS 2.1.2 using
sudo apt-get update sudo apt-get install tinyos-2.1.2 - Now you need to configure the environment for TinyOS. Do
sudo vi ~/.bashrcAdd the lines given below at the end of this file
# Sourcing the tinyos environment variable setup script
source /opt/tinyos-2.1.2/tinyos.sh
export CLASSPATH=$CLASSPATH:.
Create the setup script using:
sudo vi /opt/tinyos-2.1.2/tinyos.shNow enter the following contents into this file (use “i” to insert, ctrl+shift+v to paste)
#! /usr/bin/env bash
# Here we setup the environment
# variables needed by the tinyos
# make system

# echo "Setting up for TinyOS 2.1.2"
export TOSROOT=
export TOSDIR=
export MAKERULES=

TOSROOT="/opt/tinyos-2.1.2"
TOSDIR="$TOSROOT/tos"
CLASSPATH=$CLASSPATH:$TOSROOT/support/sdk/java:$TOSROOT/support/sdk/java/tinyos.jar
MAKERULES="$TOSROOT/support/make/Makerules"

export TOSROOT
export TOSDIR
export CLASSPATH
export MAKERULES
Run the command below to allow this script to execute
sudo chmod 755 /opt/tinyos-2.1.2/tinyos.sh - Now close and start a new terminal or alternatively
source ~/.bashrc - Run the command
tos-check-envIf it gives warnings related to Java version then do
java -versionIf your version is above 1.5, then ignore this warning else upgrade to a newer java version. Ignore the warning related to graphviz.
- Now insert Telos mote in your USB slot. You may run the command
motelistto check if it was detected. The output will be
$motelist
Reference  Device           Description
---------- ---------------- ---------------------------------------------
M49WC0OT   /dev/ttyUSB0     Moteiv tmote sky
Allow writing to the USB port using (substitute your device name as per the previous output)
sudo chmod 666 /dev/ttyUSB0Navigate to the blinking led project folder
sudo bash
cd /opt/tinyos-2.1.2/apps/Blink
Execute the command below and the code should get compiled
make telosbInstall the blinking LED application on the mote using
make telosb reinstallThe command above assumes you have only one Telos mote on USB. Else use the command
make telosb reinstall bsl,/dev/ttyUSB0You should see the LEDs come to life.
References: TinyOS Documentation